
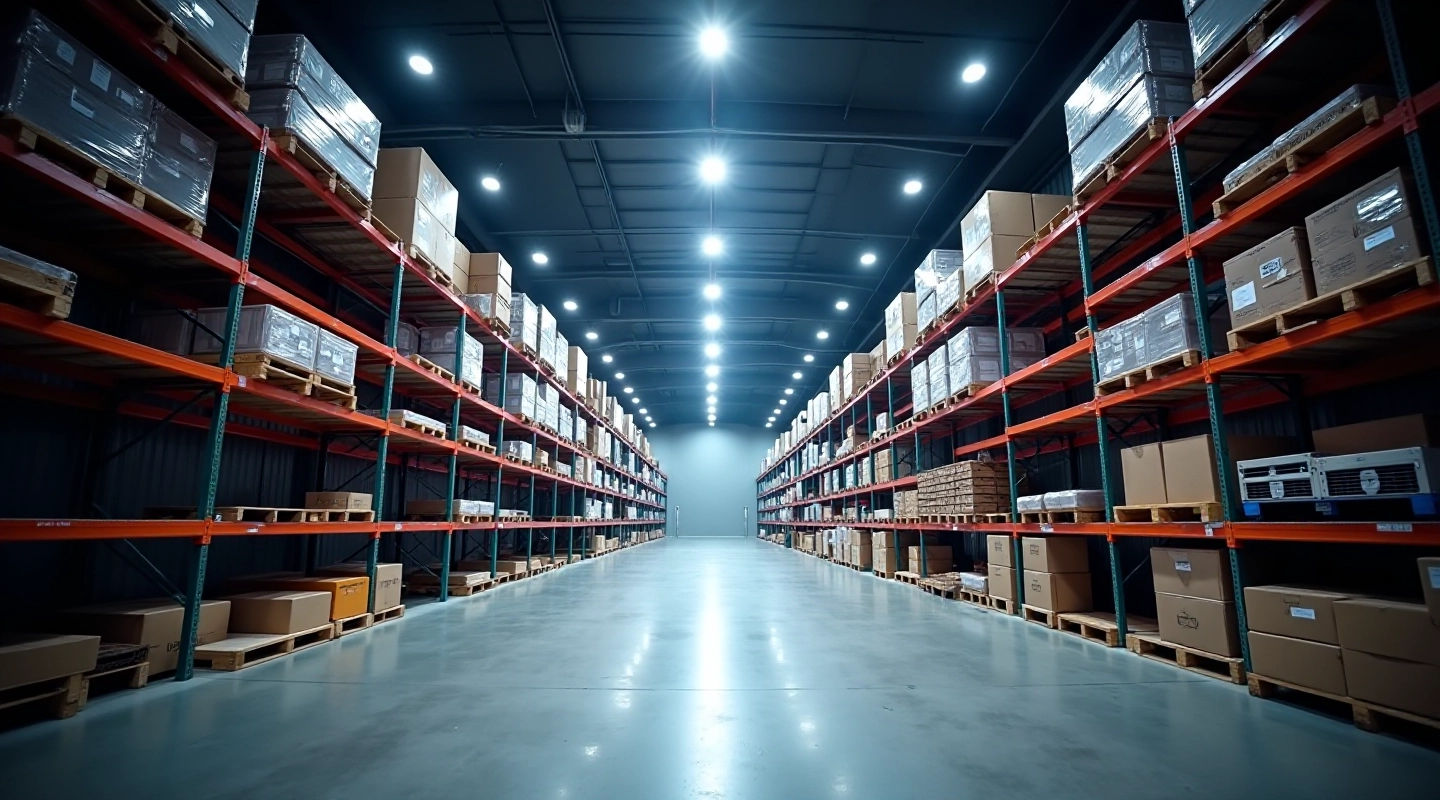
High Bay Lights: What Warehouse Managers Need to Know
High bay fixtures designed for spaces 20+ feet tall. We cover mounting heights, fixture selection, and energy considerations.
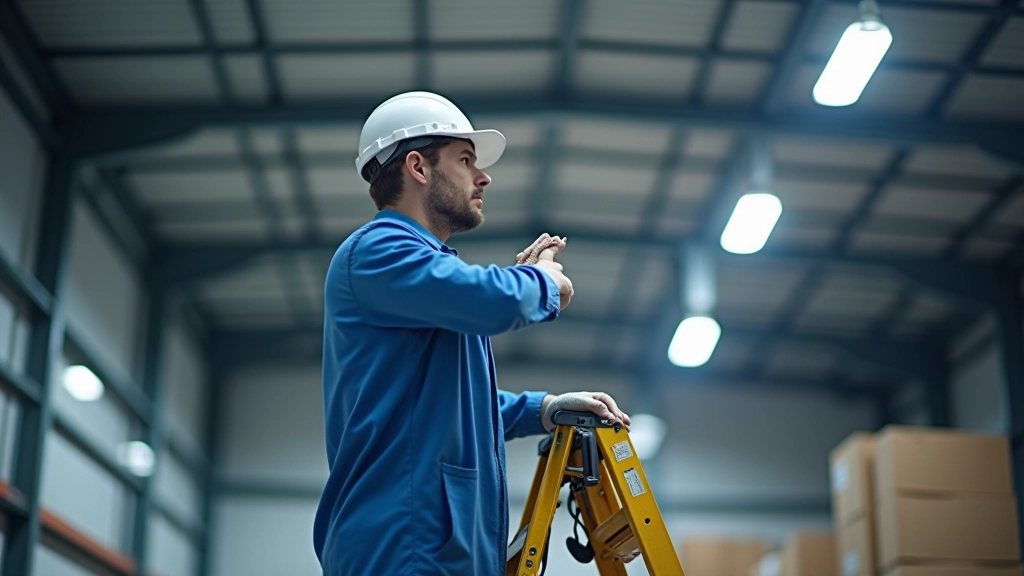
Step-by-step guide for installing LED panels in warehouses. Includes wiring, spacing recommendations, and a maintenance checklist to keep them running efficiently.
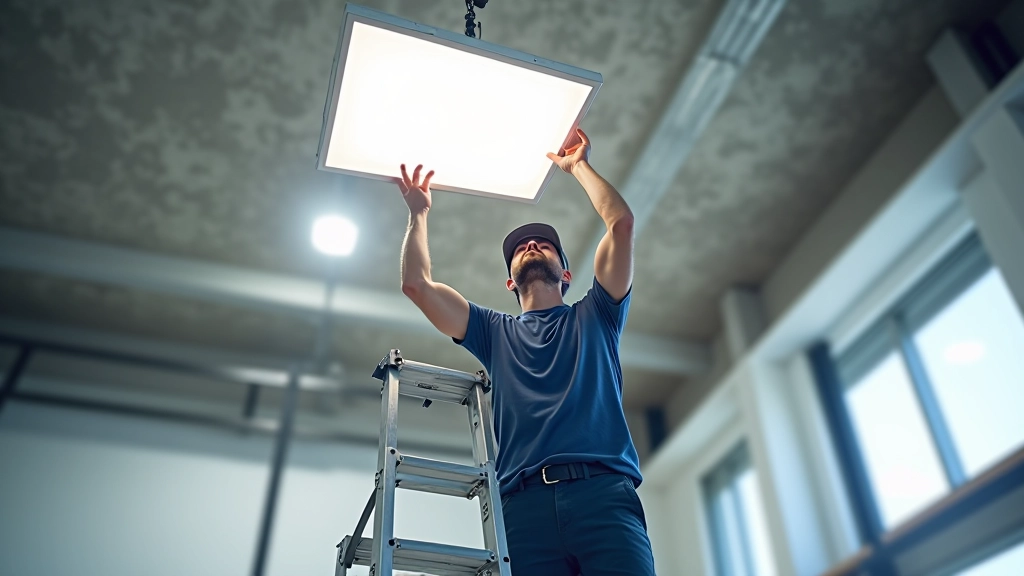
LED panels aren't just about brighter light. They're about creating safe, efficient storage spaces where staff can work productively for hours without eye strain. Plus, they're durable enough to handle warehouse conditions — temperature swings, vibration, dust. We'll walk you through everything from planning your layout to keeping them running smoothly for years.
Key takeaway: Proper installation determines 80% of long-term performance. Get the spacing, wiring, and mounting right from day one, and you'll avoid costly adjustments later.
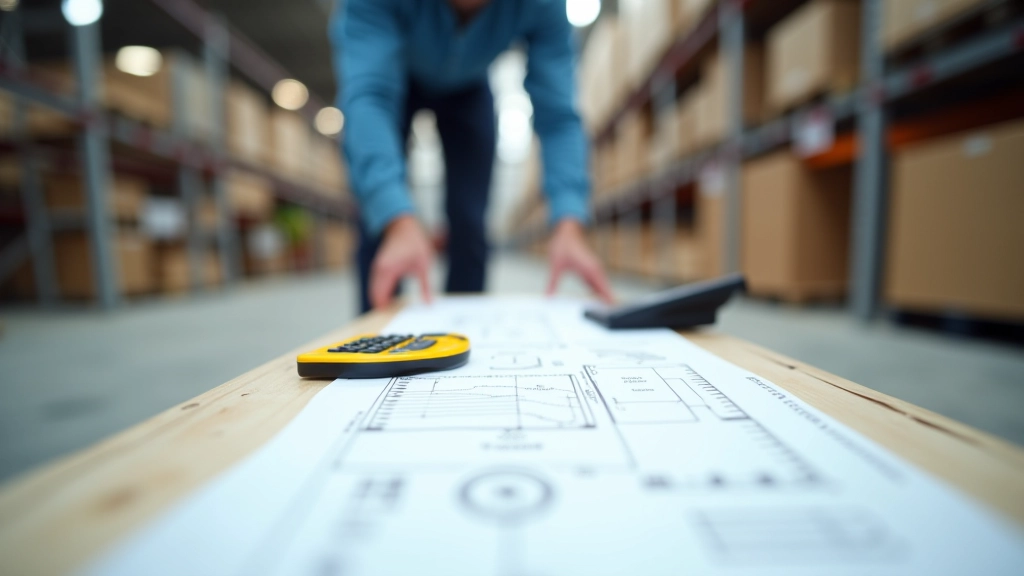
Before you drill a single hole, you need to understand your space. Storage areas aren't one-size-fits-all. A narrow aisle needs different coverage than a wide shelving zone. Height matters too — panels mounted at 10 feet behave differently than those at 15 feet.
Length, width, ceiling height. Note any obstructions — beams, sprinklers, existing fixtures. We recommend sketching a rough layout with dimensions noted. You'll reference this constantly during installation.
Storage areas typically need 200-500 lux depending on task intensity. Use online calculators or work with a supplier — don't guess. One 36W panel covers roughly 40-50 square meters at 300 lux. That's your baseline for spacing decisions.
Where will power come from? Are you running wiring through conduit or ceiling cavities? Plan this before installation. It's much harder to retrofit circuits after panels are mounted.
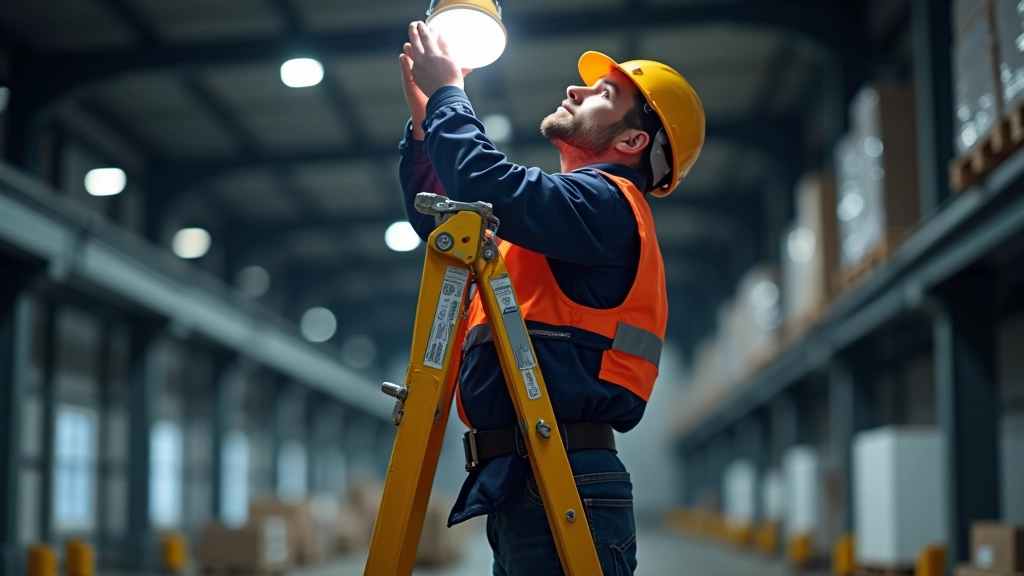
It's actually straightforward if you've done the prep work. Most technicians install 12-16 panels per day once they get into rhythm. The key is consistency — same mounting height, same spacing intervals, same wire management.
LED panels don't fail suddenly — they fade gradually. You'll notice brightness dropping 10-20% after 2-3 years if you're not maintaining them. Dust accumulation is the #1 culprit. Warehouse air carries particles that settle on diffusers and reduce light output by up to 30%.
Use a soft microfiber cloth (never abrasive pads) and mild soap solution. Wipe diffusers and frames. Don't spray liquid directly on panels — spray the cloth first. Takes 15-20 minutes per 20 panels. The brightness boost is immediate and noticeable.
Every 6 months, visually inspect connectors and wiring. Look for corrosion, loose terminals, or burn marks. Tighten any loose connections with appropriate tools. In humid environments or near moisture, check more frequently.
Keep baseline brightness readings from installation day. If brightness drops more than 15% over a year, investigate. It's usually dust, but could indicate driver issues. Early detection prevents complete failures.
Log installation dates, maintenance dates, any repairs. Include photos of the layout. This documentation helps identify patterns and supports warranty claims if panels fail early.
Cause: Usually loose connections or incompatible dimmer switches. Solution: Check all terminals are tight. If using dimmers, ensure they're rated for LED. Some older dimmer switches don't play well with LEDs.
Cause: Panels on different circuits or dust buildup on some units. Solution: Clean all diffusers thoroughly. If problem persists, check circuit distribution. Panels on same circuit should have similar brightness.
Cause: Dust accumulation (most common) or aging drivers. Solution: Clean first. If brightness doesn't improve after cleaning, the driver may need replacement. Usually covered under warranty if less than 3-5 years old.
Cause: Tripped breaker, blown fuse, or dead driver. Solution: Check circuit breaker first. Reset if tripped. If it trips immediately, there's a short — don't ignore this. Call a technician.
You're investing in panels that'll run for 50,000+ hours if you install and maintain them properly. That's roughly 10 years of continuous operation. Getting the fundamentals right — spacing, wiring, mounting, initial testing — means you're not fighting problems down the line. Staff appreciate the consistent, bright lighting. You appreciate the low maintenance and stable energy costs. It's worth taking the time to do it correctly from the start.
Questions about your specific installation? Our team can review your layout and provide detailed recommendations. Reach out through our contact page — we're here to help you get it right.
This guide provides general information about LED panel installation and maintenance for educational purposes. Electrical installation work should be performed by qualified, licensed electricians in compliance with local building codes and safety regulations. We're not responsible for injuries, property damage, or system failures resulting from improper installation or maintenance. Always consult with a qualified electrician before beginning any installation project, and verify all local requirements and permits before proceeding.
Author
Editorial Team
Written by the ravelforde editorial team, focused on practical, honest guidance for industrial LED lighting decisions.
High bay fixtures designed for spaces 20+ feet tall. We cover mounting heights, fixture selection, and energy considerations.
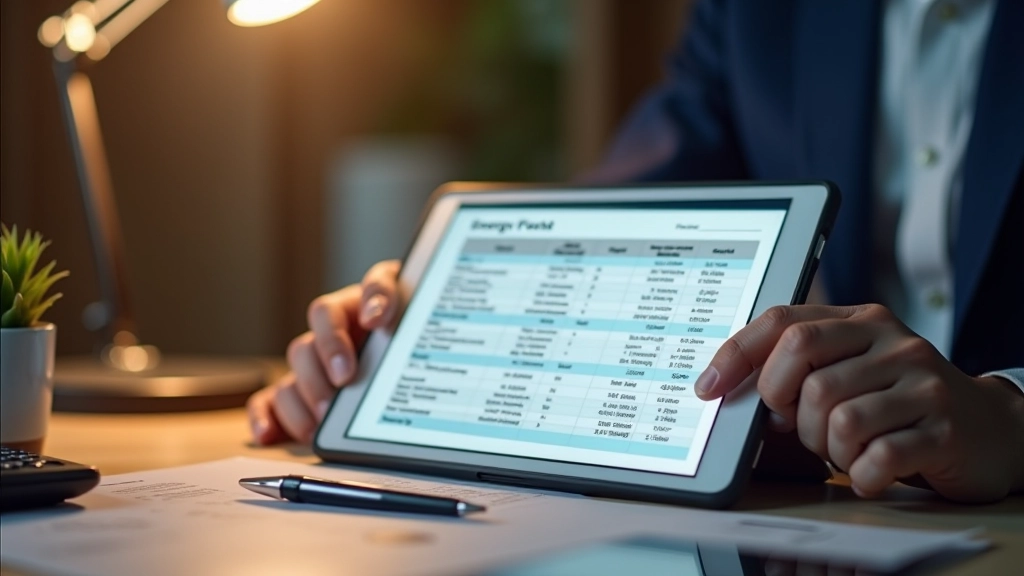
Learn how to calculate actual energy savings from switching to LED. Includes real-world warehouse examples and ROI frameworks.

Different color temperatures affect productivity and safety. We explain how to pick the right warmth for your facility.